Transformation tools

Clockwise and Counter-clockwise
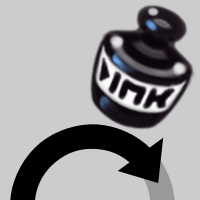
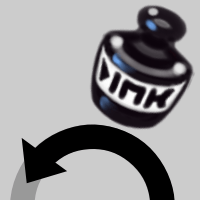
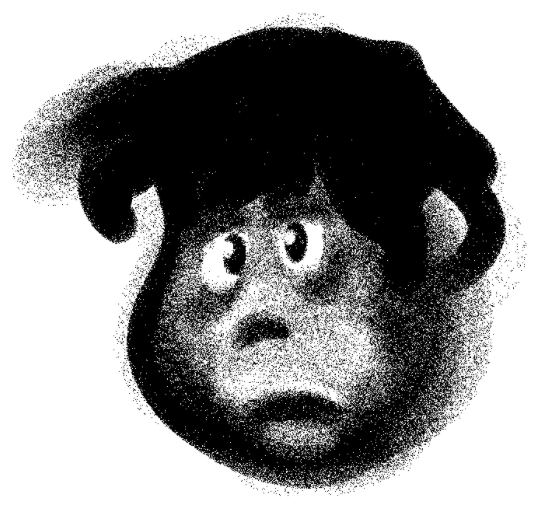
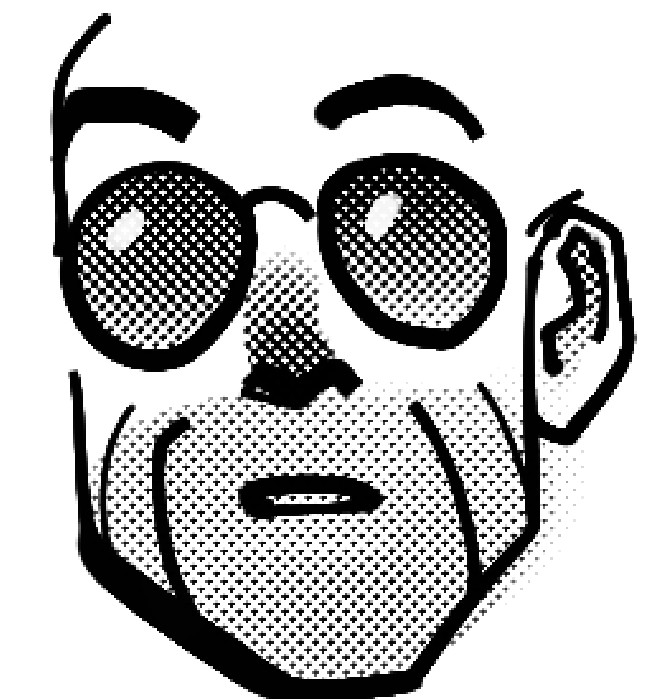
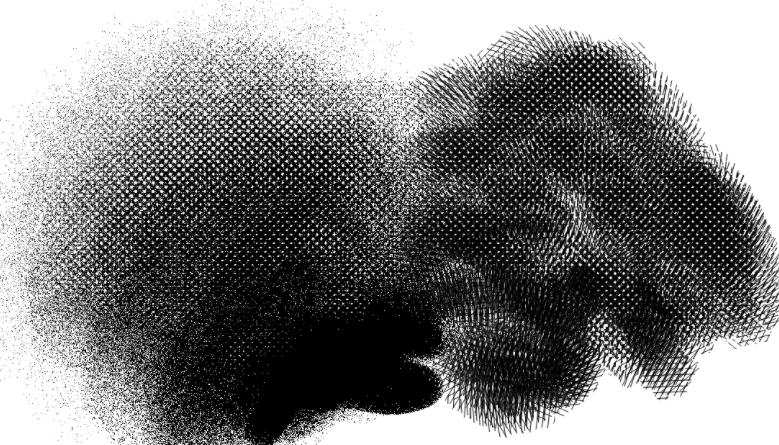
Slight rotation/distortion. How much and how complete a rotation/distortion at once depends on the brush size setting–rotation in the center, distortion around.
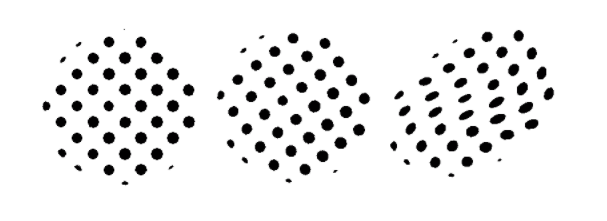
Halftone pattern; slight rotation within center of the brush; distortion at either end from skirting the brush around the sides.
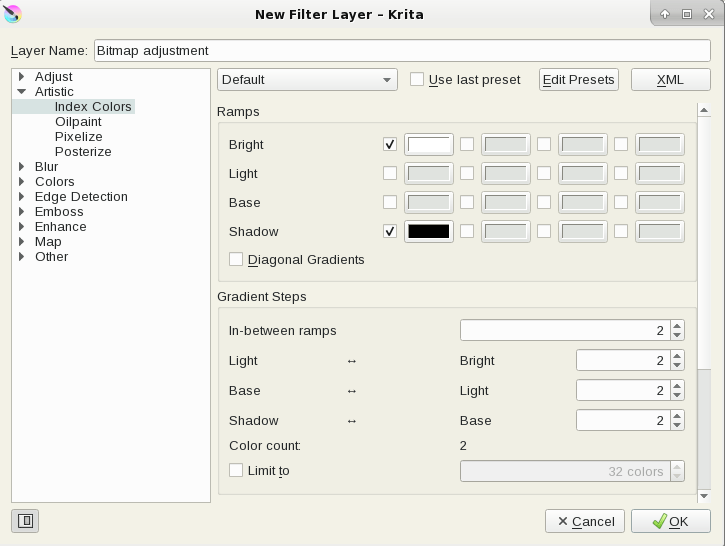
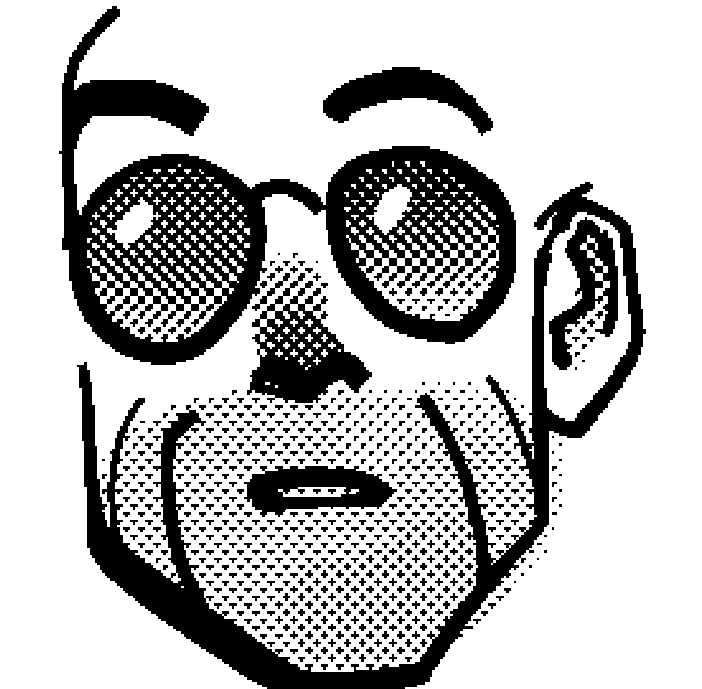
The rotation/distortion will create some grayscale that you may want to eliminate for black and white printing. There is a way to set this to retain black and white, but the results are better to apply bitmapping after the fact.
Bitmap
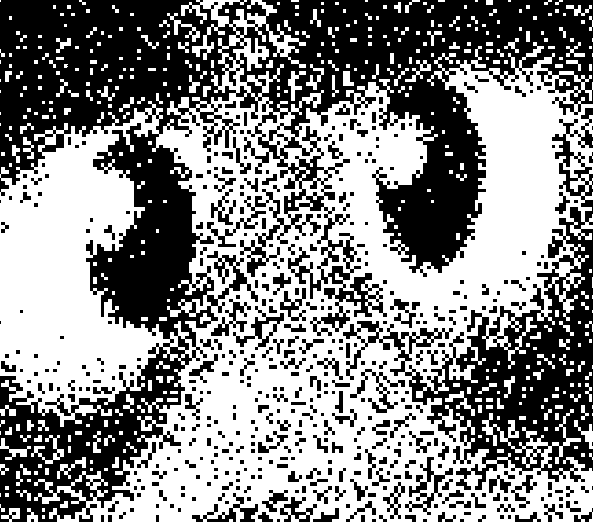
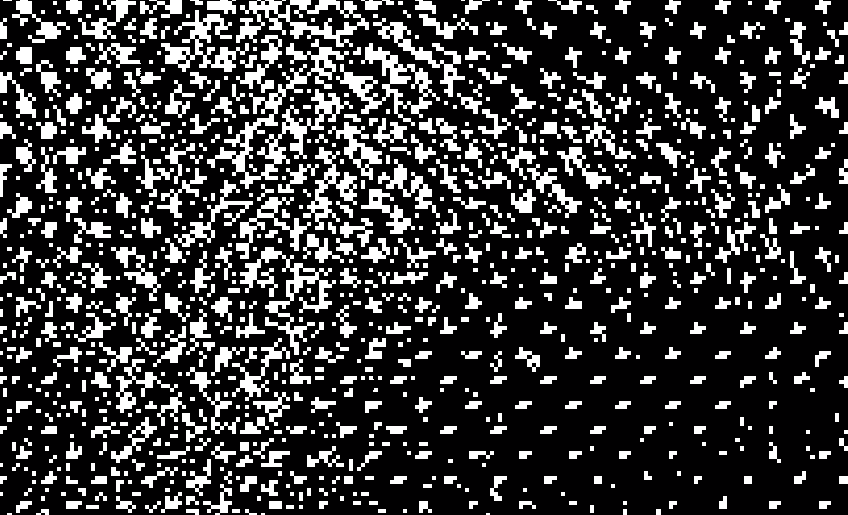
Bitmap strips away all grayscale, leaving pure bitmap. Use after applying Zip Tone (as below) to clear stray garbage.

This brush can be used when convenient. However, for an entire page of black and white art, I would recommend instead to apply a non-destructive filter layer. This layer can be toggled to check work.
This might be the best way to illustrate the Ghost brush (below). Paint white on an upper layer, along with an ink drawing. Floating above, it will only obscure the layers below, without actually changing them.
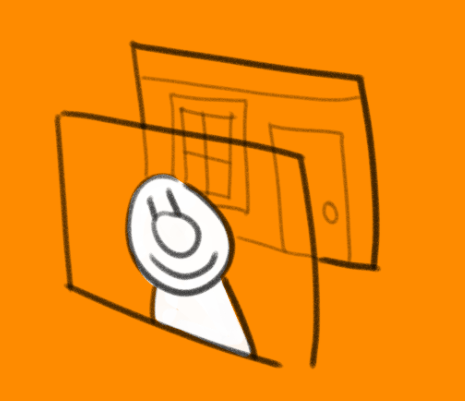
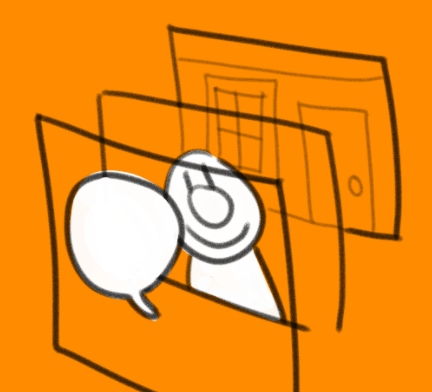
This can be particularly useful for hand-drawn word balloons. No need to alter the art below, the balloons can be easily repositioned without grouping multiple layers.
Night and Clear
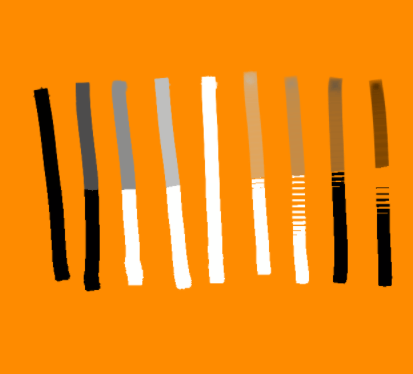
Night forces opaque pixels to become darker, while Clear eliminates opacity of light pixels.
It’s easiest to show the results of Strong on a variety of lines in front of a bright background color. Opaque grays become black; transparent grays do as well, but do not become more opaque. White remains unchanged.
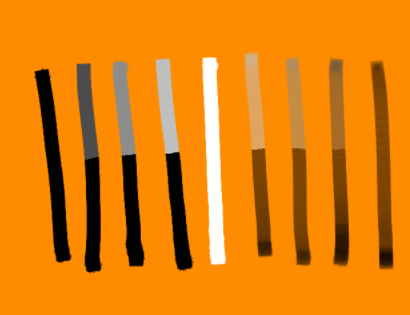
The Bitmap brush, by comparison, converts only that which is already dark to black, reduces all light to white, and strips away transparency.
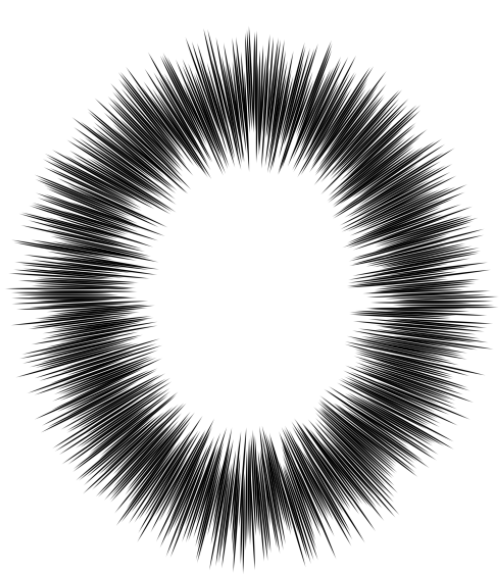
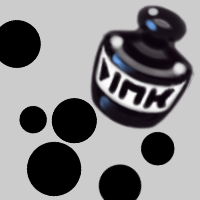
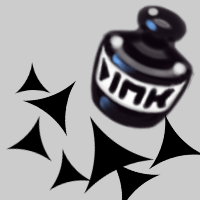
Bursts
For best results, use the ellipse tool to create perfect circles/ovals. Use for shock thought balloons, actual explosions, etc. When drawing freehand, keep it smooth, or else the various “jabs” will come out of alignment.
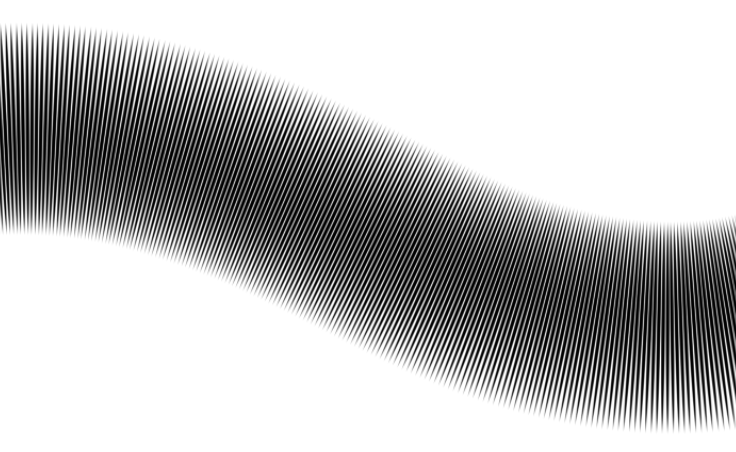
Hatcher and Spike-O-Graph
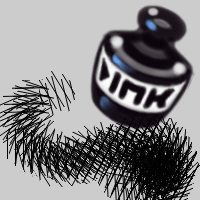
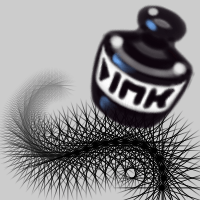
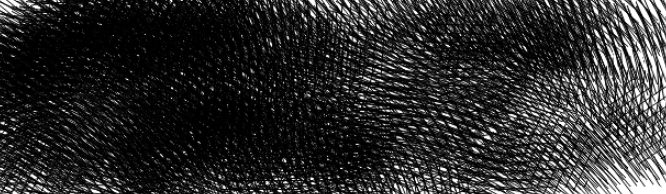
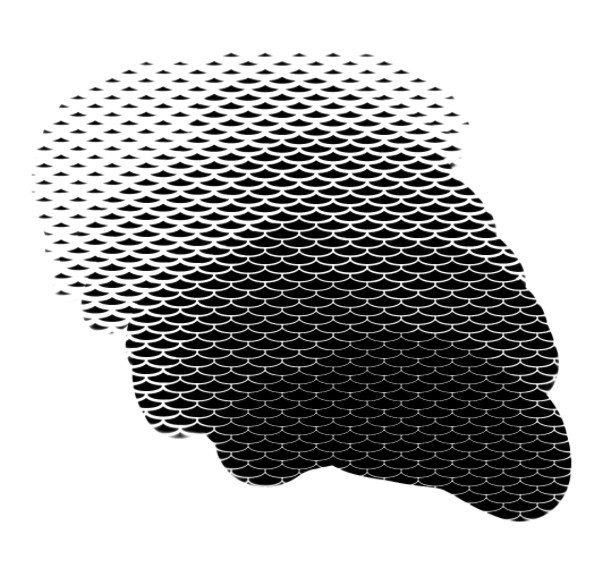
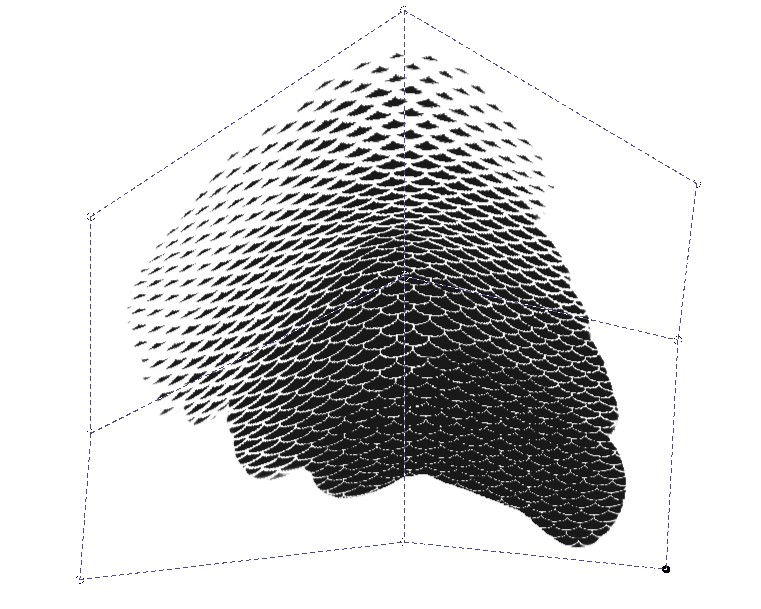
Scrobble and Scales

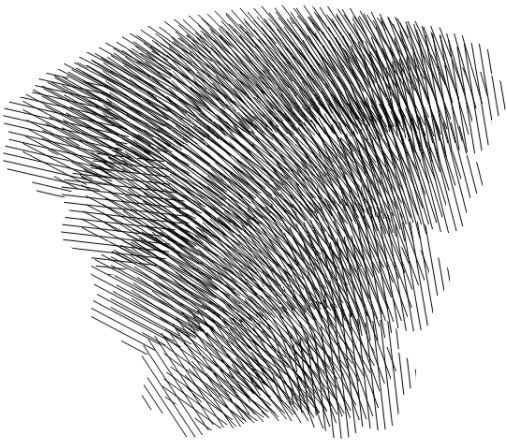
Scrobble is an intentional mess of ink lines.
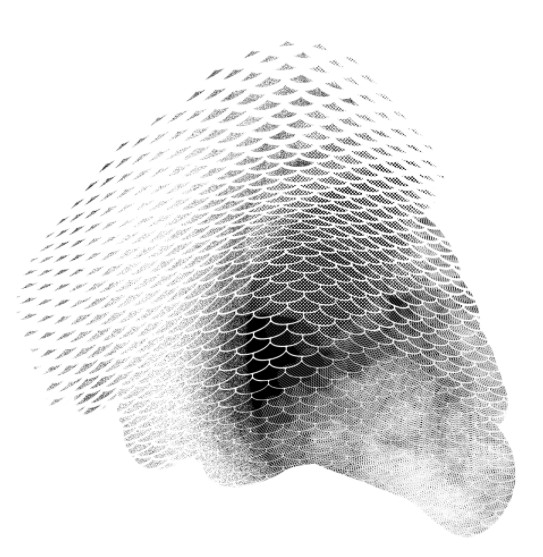
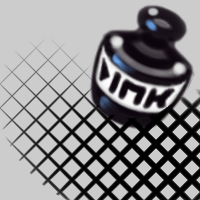
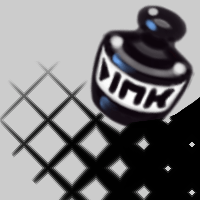
Scales can be used as a decorative pattern, or a pseudo-indication of a pattern (you’ll see in some comics and cartoons where a plaid pattern is simply dropped over a dress unedited, without regard to folds) but for best results apply on a separate layer, tilt and resize, and even use the transform tool or Clockwise brushes to distort.
Use a texture, such as Spritz, Hatch, or even Zip, set to erase mode, to avoid the sea-of-blocks look.
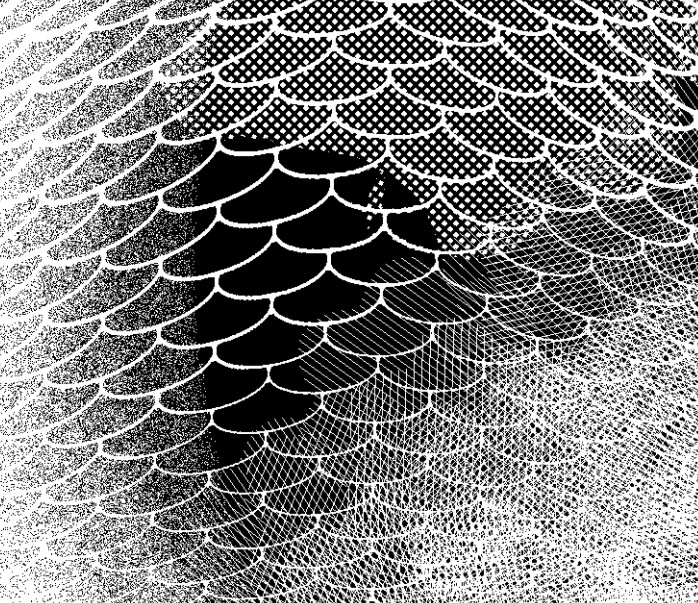
The Kurio Ink presets are meant to keep grayscale to a minimum, but these various processes will leave some garbage that you may want to remove for printing. This shouldn’t result in too much quality loss.
Spray and Spritz

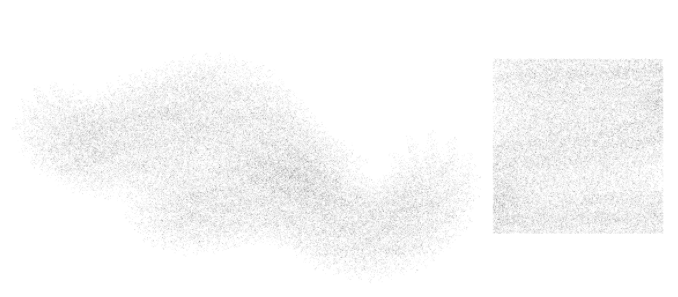
Use Spray for quick application of heavy, noisy bitmap tone.
Instead of building too much tone at once, Spritz is meant to spray large areas with a light touch in a disorderly way, in order to prevent the application from looking too even, and too avoid too much buildup.
Shapes can be erased to imitate some manga styles.
Spritz is useful for filling large areas with light bitmap noise. The noise helps slightly overlapped strokes from appearing too dark. Use selection outlines for sharp outer contours.
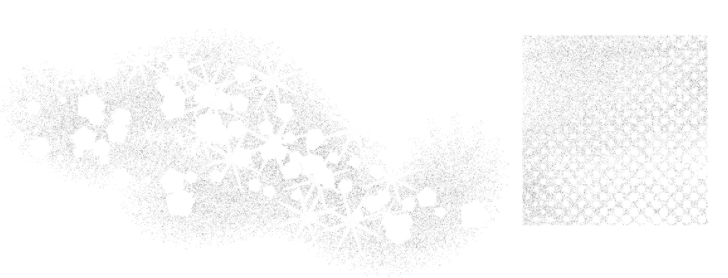
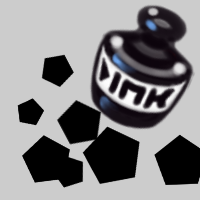
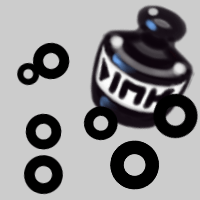
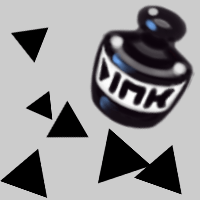
Use stars, pentagons, dots, and other shapes set to erase mode to create a fanciful background.
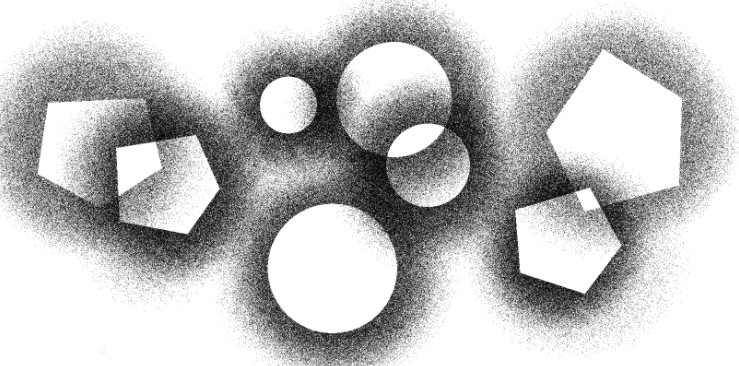
Use stars, pentagons, dots, and other shapes set to erase mode to create a fanciful background. Unlike Spray, Spritz creates some grayscale. This can be converted to bitmap with little loss.
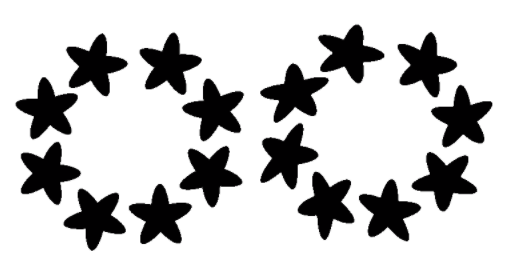
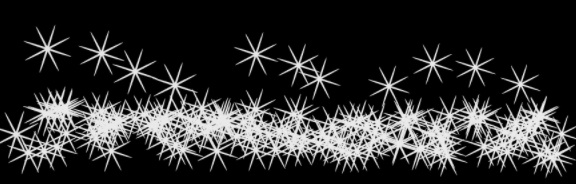
Splatter, Starry Night, and Star Spangled
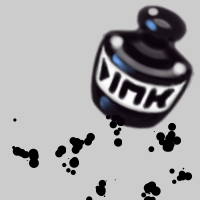
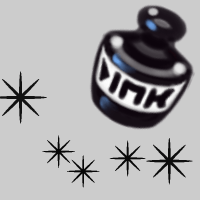
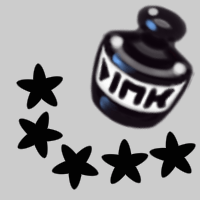
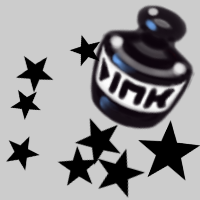
These are various shapes created by the brush engine–that is, the actual brush tip as opposed to stamping an image file. These particular shapes are effective when set to eraser mode, over black fields or light tone sprays.
Use Krita’s palette to set Starry Night‘s angle in order to give it a different tilt. Change the spacing to lay it on thicker.
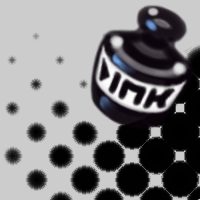
Zip halftone
These halftone brushes are built to be stripped to bitmap for black and white printing, so although they create grayscale residue, that can be stripped without too much loss. Each halftone dot is in itself bitmapped, but layered into the brush for application, which is what leaves the residue.
The size of the halftone is ranked by the number of dots per square millimeter (at 600dpi). The largest in this set is designated 1mm and 2mm, while the smallest is 32mm. Each of these brushes applies a full range of tone, from light to dark.
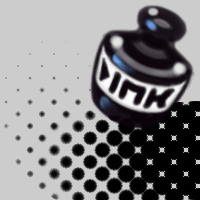
The 8mm set is a bit more complex. The largest sets contain a series of very spherical bitmapped dots, while the smallest set has a very small number of pixels to work with. The end result is that neither set needs as many steps to create the full gradient span.
8mm by contrast is built on a series of mathematically arranged pixels, so there are far more steps. For this reason, it is split into three brushes: light, midtone, and shadow.

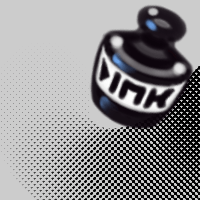
Below, a small drawing using the smallest bitmap, in order to demonstrate the application of the tone, and removal of grayscale. There are many ways to approach “painting” the halftone. Select an area, or trim it after; preferably begin light, and build to dark. Paint white into an area for highlight, or set to erase mode to lighten other areas.
Ink spray and hatch, after applying zip tone in erase mode.
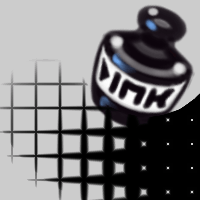
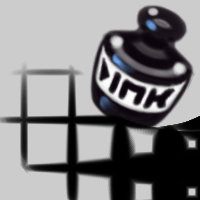
Grids
Rubber stamp shapes

Although the behavior of these brushes is similar to Starrynight and Starspangled, these rely on large, independent graphic images instead of a brush engine-generated tip or small, repetitive pattern.
